image create command:
- Syntax:
image create type ?name? ?option value ...? - Create a new image.
typeThe type of image. May be photofor multicolor images, orbitmapfor bitmap images.?name?An optional name for this image. If not provided, Tcl will assign a name. ?option value ...?Keyword/Value pairs that define the image object. Options include -heightand-width, etc.
You can load an image from a disk file with the file option:
image create photo -file $filePath
Images can be displayed in a Tcl canvas widget. The canvas widget
is created with the canvas command:
- Syntax:
canvas name options - Create a new canvas widget.
nameThe name for this canvas, starting with a "." optionsKey/value pairs such as: -height 200 -width 300
Download this image and display it in a Tcl canvas.
The red/green/blue values for a pixel can be extracted from an image
with the get subcommand:
- Syntax:
imageName get xLoc yLoc - Retrieve RGB values from an image
imageNameThe name of the image as returned by image createxloc ylocThe x and y location for the pixel
A pixel can be assigned to a particular color with the put
subcommand.
- Syntax:
imageName put colorList -to x1 y1 ?x2 y2? - Set pixel values in an image
imageNameThe name of the image as returned by image createcolorListA list of colors to assign to the pixels in Tcl color format. -to x1 y1 ?x2 y2?The X/Y location for a pixel, or a rectangular area for a set of pixels.
You can put named colors like red, blue etc
just by using the color name.
$myImage put red -to 0 0 10 10
draws a red square in an image.
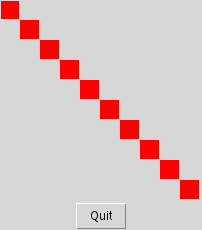
Write a script that creates a canvas and image, displays the image on the canvas and then draws a set of squares in the image.
The results should look like this:

put subcommand with an RGB color
value, we need to use the format command to construct
the color:
- Syntax:
format formatString ?data1? ?data2? ... -
The
formatcommand returns a new string based on a format definition and a set of data values.formatReturns a new string, formatted as defined by the formatStringstring.data#Data to substitute into the format string.
The format command supports many options to describe exactly how a number should be formatted. For simple colors, the format
#%02x%02x%02x
is good.
This tells the format command to format the numbers as
2 digit hex values with a leading 0 for values less the 0x10.
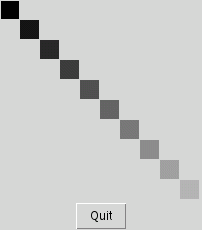
Modify the previous code to draw a set of gray boxes instead of red boxes. The result should look like this:

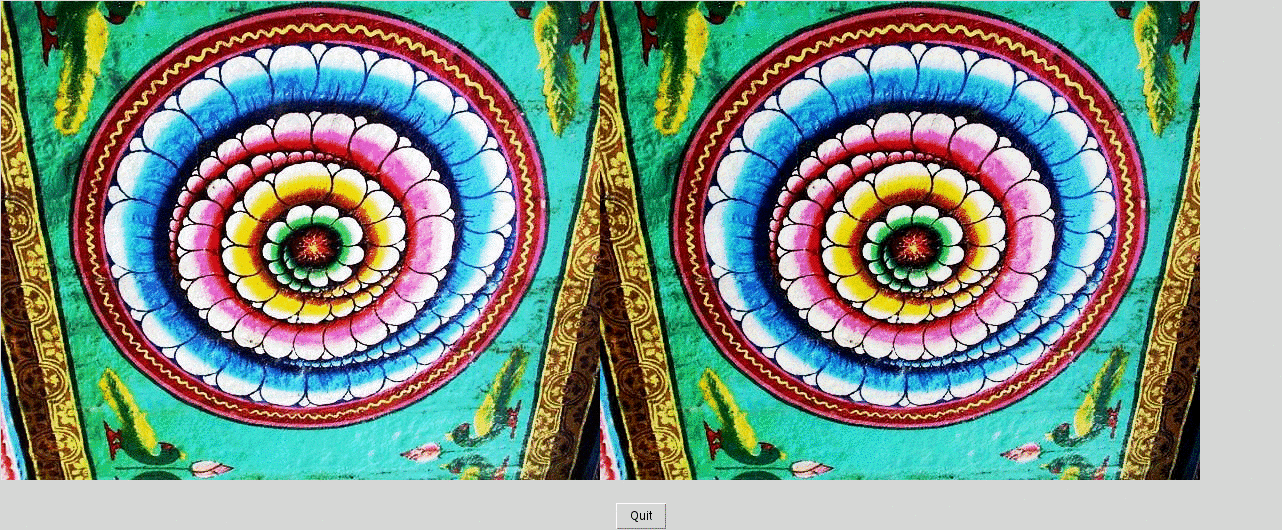
Write a script that makes a canvas and 2 images. One image will contain the mandala.gif the other will start blank, but we'll copy the pixels from the first image into it.
You'll need a set of nested for loops for this, one
to step through the X locations of the pixels, and one to step
over through Y locations.
The result should look like this:

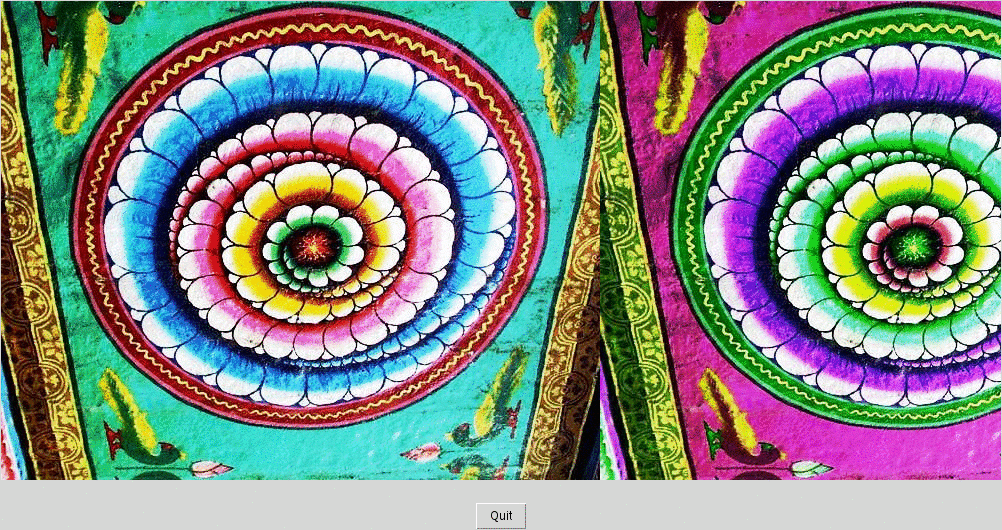
Modify Exercise 4 to use apply a bit mask to each pixel so that only the top 4 bits of the image are displayed.
The results should look like this:

The right hand image looks crisper and sharper than the left hand image.
Why?